Category

DIY

Category

DIY: Floral Crown

I seriously, seriously love floral crowns. They are perfect for weddings, wedding showers, maternity shoots, baby showers, newborn photos or just because! I have made suggestions on outfits with which you can style a beautiful floral crown at the bottom of this post.

Ever since I started my Floral Arranging 101 class, I’ve been motivated to create my own. I have read a number of DIYs (like this, this and this), and decided to give it a try! At first, I thought about doing a little one for Isla (she’s already worn this one in her newborn photos), but decided to do an adult-sized one and I’m so glad I did! I will admit that this DIY is perhaps not the most technical (as I use a hot glue gun, which would make many florists cringe!), but it works! Read the process below:

  1. I went to the grocery store and picked up some cremones and carnations. Then I went to my front yard and cut down some foliage for fillers – you can also find these in the floral department of your local grocery store.
  2. I cut all of the flowers so that they had 2-3 inch stems and then laid everything out on the island and placed it in the order I wanted for the crown.
  3. I took an 18 gauge floral wire and bent one end about half an inch from the end and thread one of the carnations through – it is important to use a thick stem flower versus a piece of foliage at the end.
  4. I then began to add the flowers and foliage by wrapping floral tape around the base and the floral gauge – laying the pieces along the length of the wire. When I got to a carnation or a cremone, I would take the wire through the stem of the flower versus the side layering technique.
  5. Tip: As mentioned earlier, I also used a hot glue gun to secure some of the floral tape to the wire, and in some instances, to glue the bushy leaves to the wire.
  6. When I finished filling the floral wire with flowers, I cut two pieces of cream ribbon 7 inches in length. Put a dot of hot glue on one end of each strand of ribbon and secure it to the end of the wire. Once the glue is dried, you can put it on your head and tie a bow at the back!

You can extend the life of your crown significantly by storing it in a drawer in your refrigerator. Mine lasted four days, then some of the flowers started to wither. Make sure you start the process with the freshest florals you can find.
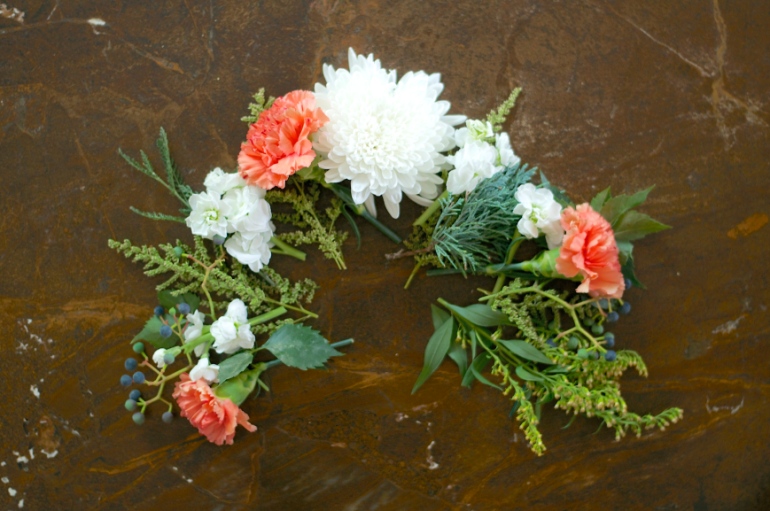
DSC_0306

Arrange all flowers in the order you’d like them on the crown, then thread them through the floral wire (steps 3-5 above)
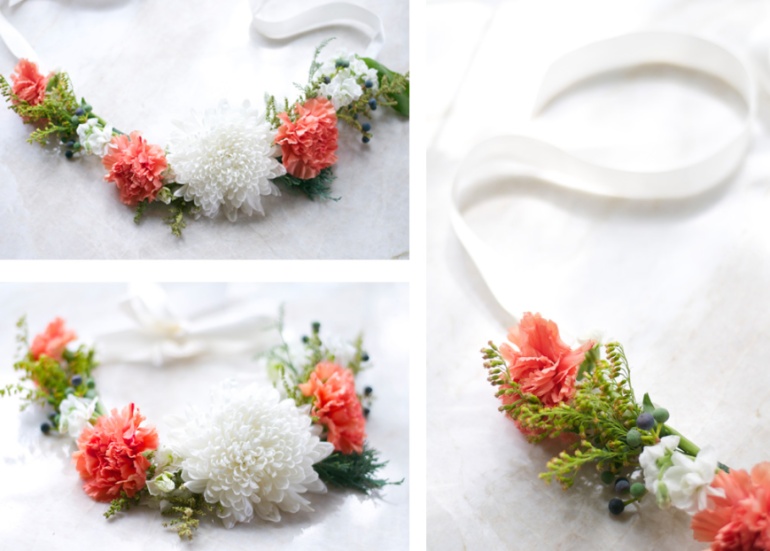
floralcrown1

Add the ribbon to the ends and tie, then voilà… a beautiful floral crown!


How to Style the Crown

Glassine Envelope Announcements

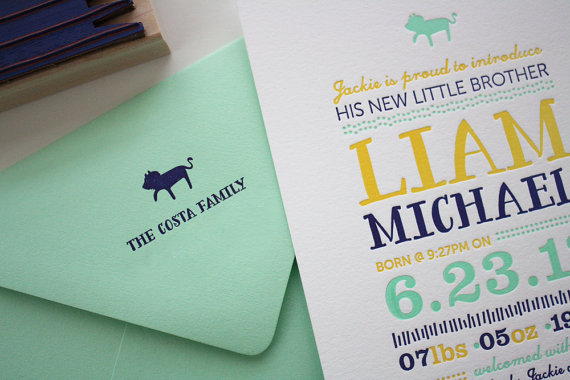
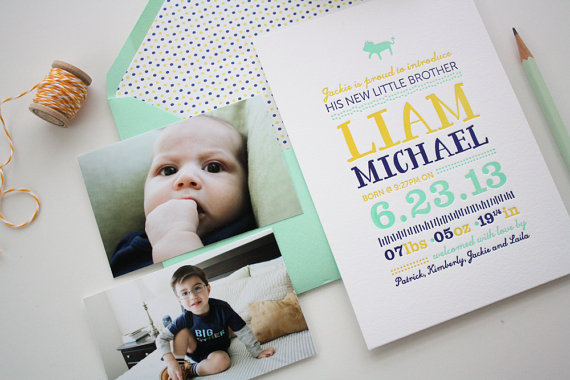
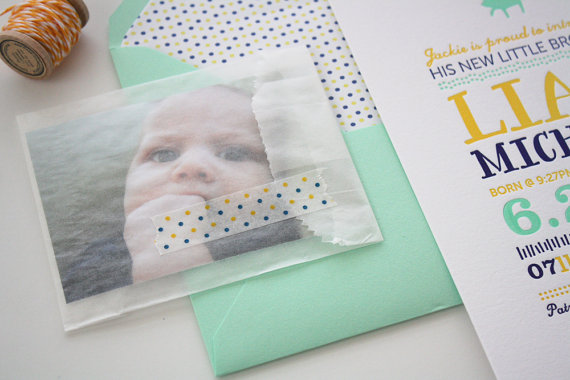
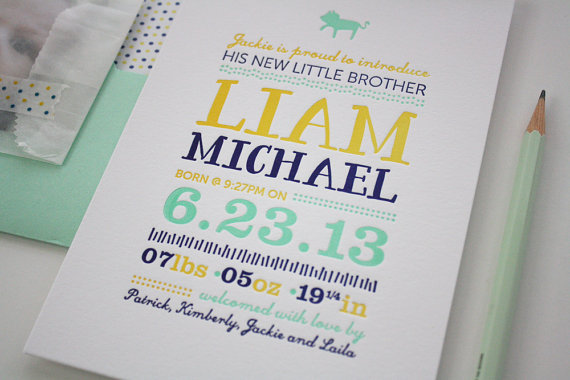
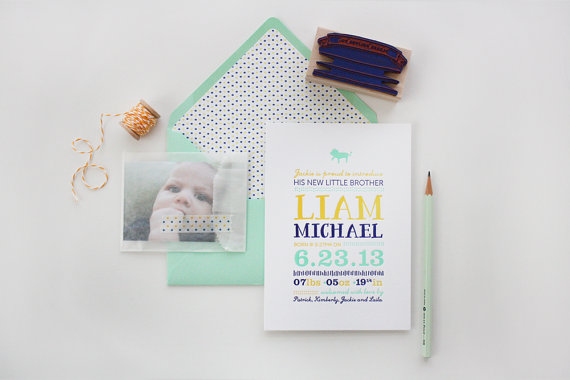
I am ever-s0-slightly obsessed with glassine birth announcements. When I saw these on Etsy, I could not get over how cute they were!  I love the colors, liner, letterpress, and typography… but most of all, the glassine envelope with Liam’s sweet photo. I love the simplicity of glassine envelopes – and especially when they are sealed with colorful washi tape (good online selections here). Another cute example is here. Making your own glassine invitation or announcement can be simple! You can order envelopes here on Amazon. You can get a custom stamp made on Etsy or Antiquaria and easily print on them, or leave them blank and include them as an accessory to paper goods. Have you seen any cute glassine invitations or announcements before?

il_570xN.513348220_o3uj

il_570xN.513348218_aowb

il_570xN.513348328_11k5

il_570xN.513348216_qdqw

il_570xN.513411411_s90r

Valentine’s Crafting + Baking

Last weekend, I headed over to Christie of KiKiMac‘s gorgeous house with Danielle of Goat and Spoon, and we had a perfect “Galentine’s Crafternoon.” She had posted some Valentine’s craft ideas here and here. As you’ll see in Christie’s post, we ended up creating these pretty hearts. Please soak in all of her gorgeous touches – like the place settings, menus, and delicious vegan, gluten free food!

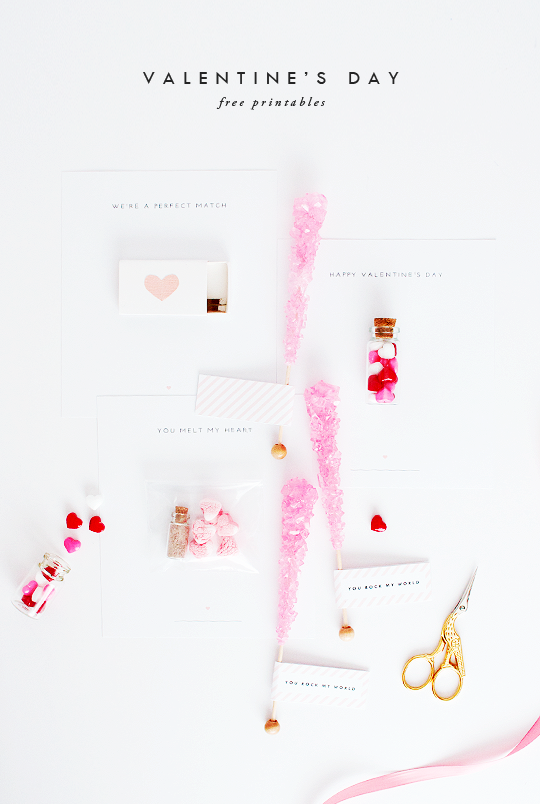
Of course, with this festive holiday approaching us quickly, there are lots of DIY and decor inspirations posted across the web. Oh So Beautiful Paper’s Valentine Crafting Party ideas include some of my favorite! I adore these printables from Oh So Pretty x Sugar & Cloth.

Vday-Sugar-and-Cloth

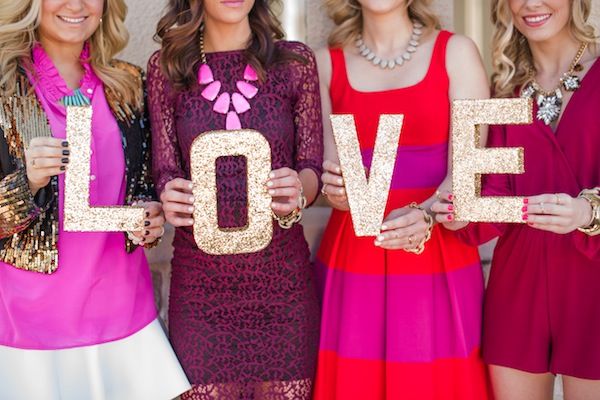
If you’re looking to have or host a Valentine’s girl’s brunch, be inspired here. This Glitter Guide get-together is seriously perfect. I love the bubbly bar and the glitter LOVE letters.

glitterguidevalentines

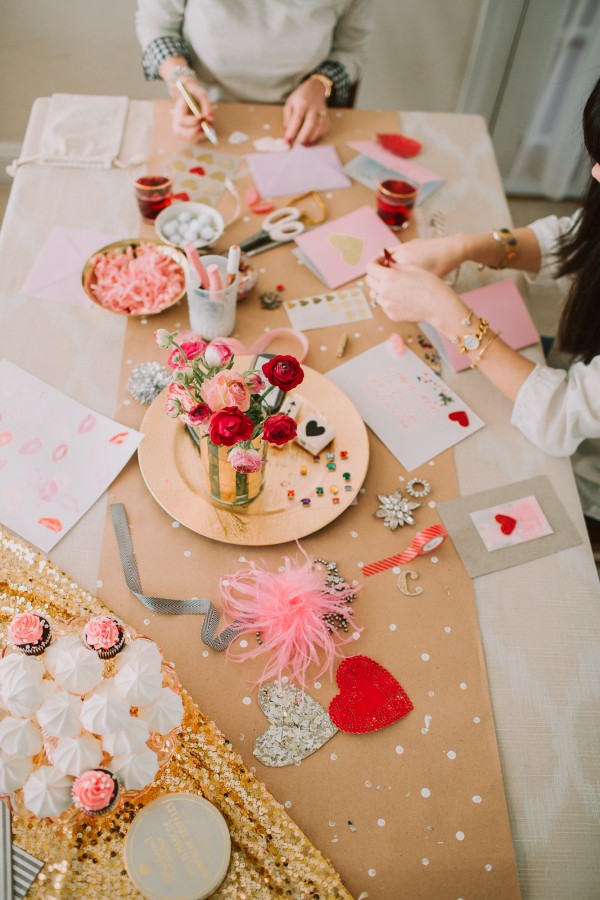
Another gorgeous Glitter Guide crafty party is featured here. Every single detail (and craft) is perfect. Every one.

glitterguidejan31-42-e1391655787826

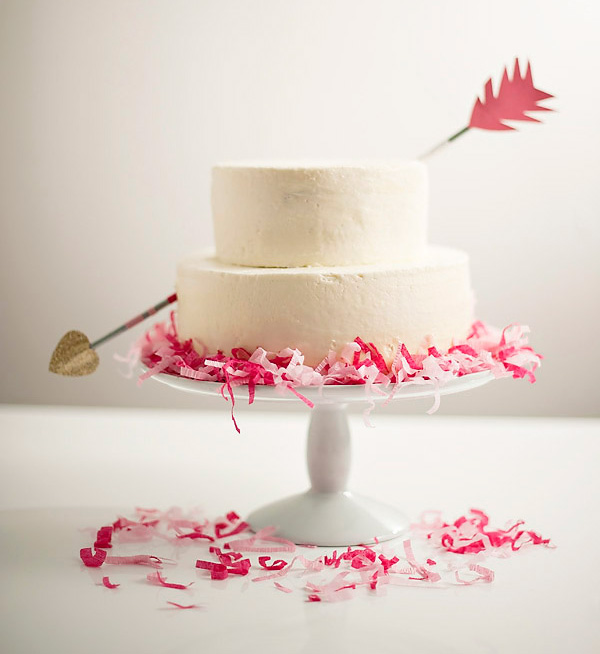
I also love this cupid’s arrow cake idea! Sasha and I would never finish that big of a cake, but I think a scaled down version would be perfect. I could even use our new favorite vegan chocolate beet muffin recipe for the cakes!

cupidsarrowcake

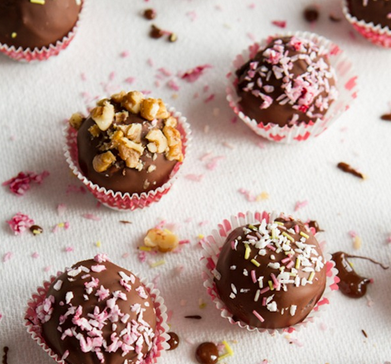
Another fun vegan Valentine’s Day recipe are these chocolate cake balls. I love finding vegan and gluten free recipes – perfect for a dinner with me and my brother-in-law, Carl, who has Celiac disease.

vegancakeballs

Baby Shower Invites + Decor

mintedbabyshowerinvites

Often people pick a party theme, then search for the invitation. Stationery lovers may be inclined to reverse that process (i.e. I totally would). While babies aren’t on my brain personally, lots of Sasha’s friends either have kids or are ready to have them soon, so I’ve been on the lookout for good baby shower material. I found these gorgeous three shower invites on Minted, and decided to brainstorm decorations to complement the cards. BHLDN is the ultimate place for cake stands, vases, garlands, etc. Wedding planning is over, but party planning is ongoing!

Petit Bebe card

Belly Bean card

Bun in the Over card

Rifle Paper Co. Hostess Gifts

hostessgifts2

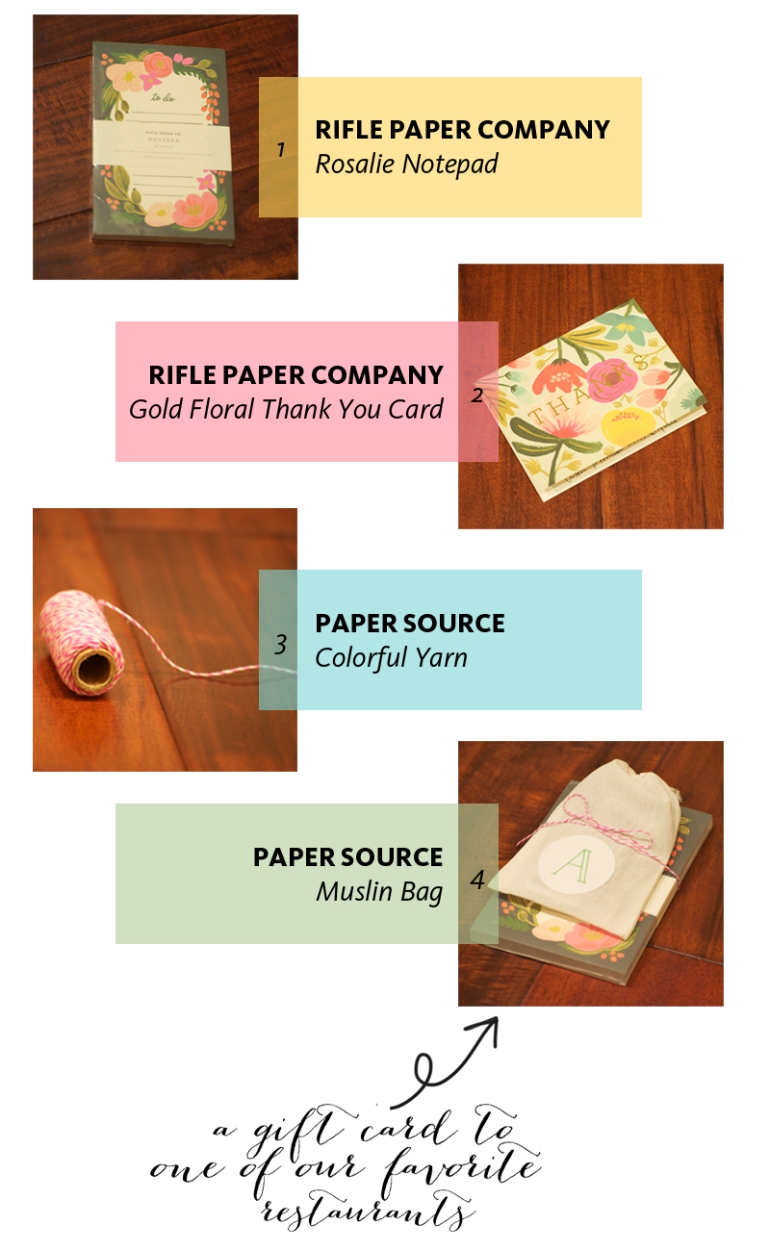
Two of Mum’s friends threw me a wedding shower on Sunday, so I bought/made them little ‘thank you’ gifts. For my last shower, I went with a “Thanks a Latte” theme for the presents. However, for this shower, I was totally inspired by everything Rifle Paper Co, so I bought the Rosalie notepad and Gold Floral thank you card, which I paired with a muslin bag from Paper Source. I tied everything together with some of my favorite yard, added a monogram label (bought here) and added a gift card to one of our favorite (and local!) restaurants – Jonathan’s the Rub. I love this stuff so much!

1 // 2 // 3 // 4