A few weeks ago, I mentioned that I spent my afternoon with the Sugar & Cloth team for a styled shoot with BHLDN. I was ‘modeling’ (it feels wrong to not put that in a quote as I’m the furthest thing from a model) alongside Aelish and Meredith (who could both actually be models). We had a ton of laughs while having the photos taken (by the very talented Jared). Ashley was directly all of the shots, and their sweet-as-can-be intern, Kayla, was helping style too.
Get Crafty Workshop: Floral Crowns
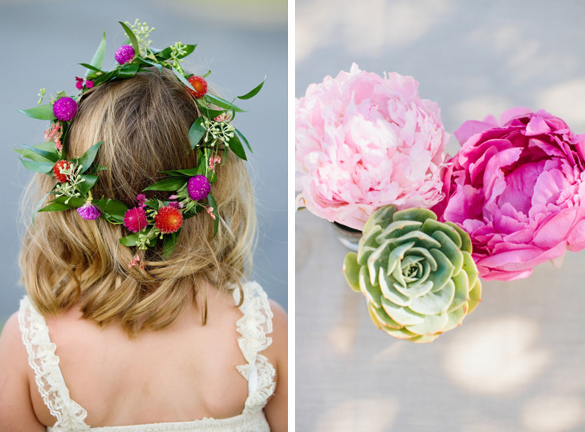
On Saturday afternoon, I headed to the owner of Baanou’s gorgeous (like jaw-droppingly perfect) house for a floral crown workshop, led by my friend, Meredith of Cake & Confetti (her #GIRLBOSS interview here). I’ve ordered three silk floral crowns now (all for Isla!), and I decided that I needed to learn how to make them myself, instead of continuing to buy them! Meredith had picked out the most elegant (and real-looking!) silk blooms, and we sat down with bubbly in hand and learned how to pick, place and secure the flowers around the wire. After two hours, there were 15 gorgeous crowns being adorned by an even more beautiful group of ladies.
I loved learning how to create these crowns (and not-so-secretly want to wear mine everywhere I go!). A tiny floral crown would be the best gift for a baby girl (umm, friends expecting babies, duly warned!) – and the larger ones would be perfect for a friend’s bridal shower or bachelorette party!
In addition to nibbing on sweet treats and cheese and sipping champagne, the workshop attendees were able to shop the Baanou’s racks – which were filled with the trendiest clothing ever, and I was slightly dying inside that Sasha has put me on a spending freeze for the rest of the month post-Isla’s birthday party (whoops!). The store is currently working by appointment only, and if you live in the Houston area, I highly recommend you call to make one asap (713.505.1347).
DIY: Floral Crown
I seriously, seriously love floral crowns. They are perfect for weddings, wedding showers, maternity shoots, baby showers, newborn photos or just because! I have made suggestions on outfits with which you can style a beautiful floral crown at the bottom of this post.
Ever since I started my Floral Arranging 101 class, I’ve been motivated to create my own. I have read a number of DIYs (like this, this and this), and decided to give it a try! At first, I thought about doing a little one for Isla (she’s already worn this one in her newborn photos), but decided to do an adult-sized one and I’m so glad I did! I will admit that this DIY is perhaps not the most technical (as I use a hot glue gun, which would make many florists cringe!), but it works! Read the process below:
- I went to the grocery store and picked up some cremones and carnations. Then I went to my front yard and cut down some foliage for fillers – you can also find these in the floral department of your local grocery store.
- I cut all of the flowers so that they had 2-3 inch stems and then laid everything out on the island and placed it in the order I wanted for the crown.
- I took an 18 gauge floral wire and bent one end about half an inch from the end and thread one of the carnations through – it is important to use a thick stem flower versus a piece of foliage at the end.
- I then began to add the flowers and foliage by wrapping floral tape around the base and the floral gauge – laying the pieces along the length of the wire. When I got to a carnation or a cremone, I would take the wire through the stem of the flower versus the side layering technique.
- Tip: As mentioned earlier, I also used a hot glue gun to secure some of the floral tape to the wire, and in some instances, to glue the bushy leaves to the wire.
- When I finished filling the floral wire with flowers, I cut two pieces of cream ribbon 7 inches in length. Put a dot of hot glue on one end of each strand of ribbon and secure it to the end of the wire. Once the glue is dried, you can put it on your head and tie a bow at the back!
You can extend the life of your crown significantly by storing it in a drawer in your refrigerator. Mine lasted four days, then some of the flowers started to wither. Make sure you start the process with the freshest florals you can find.
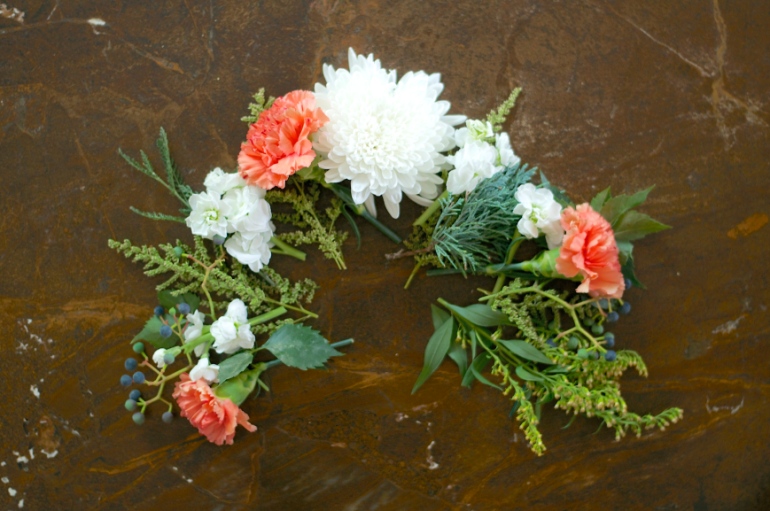
Arrange all flowers in the order you’d like them on the crown, then thread them through the floral wire (steps 3-5 above)
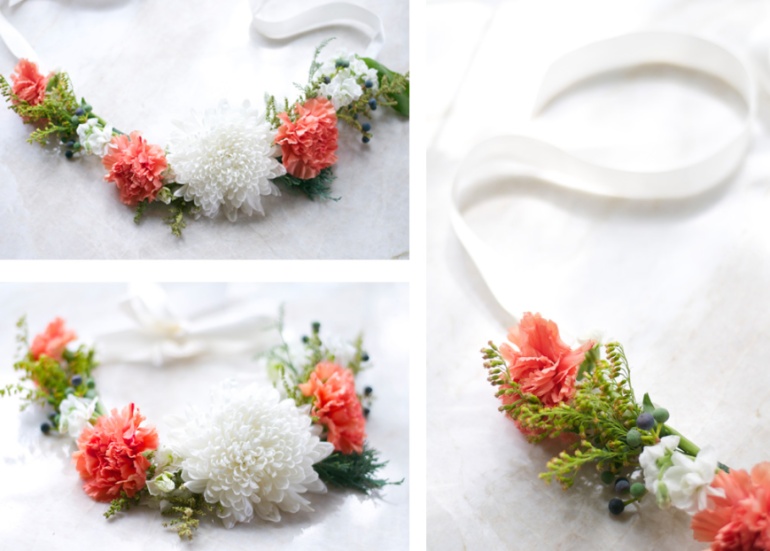
Add the ribbon to the ends and tie, then voilà… a beautiful floral crown!
How to Style the Crown
Floral Fridays: Tulip Love
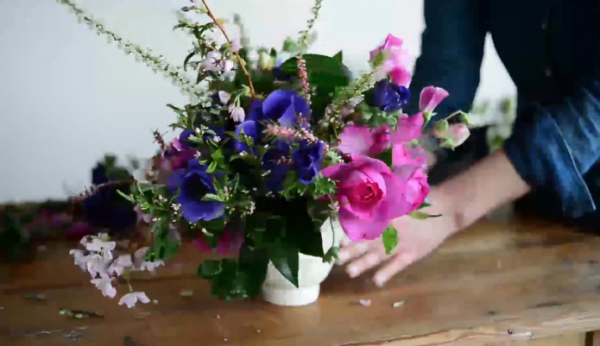
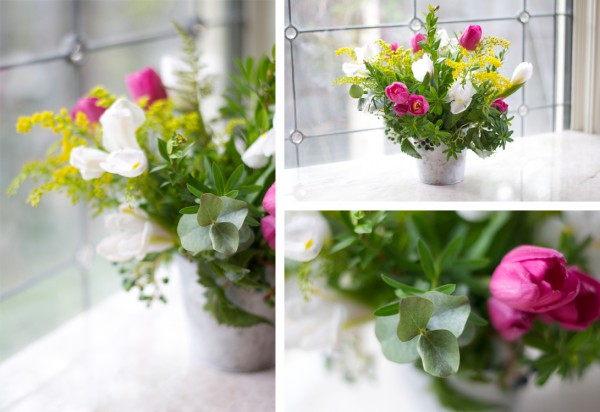
Week two of my Floral Arranging 101 with Nicole’s Classes has come and gone, and the homework assignment was to create a wild English garden arrangement. Our instructor’s example (see top photo) is literally to die for. I want her talent! Like I said last week, the local Durango flower and vase options are very limited, so I couldn’t produce as fancy an arrangement; however, I chose a bold colored tulip as my focal flower and ran with it.
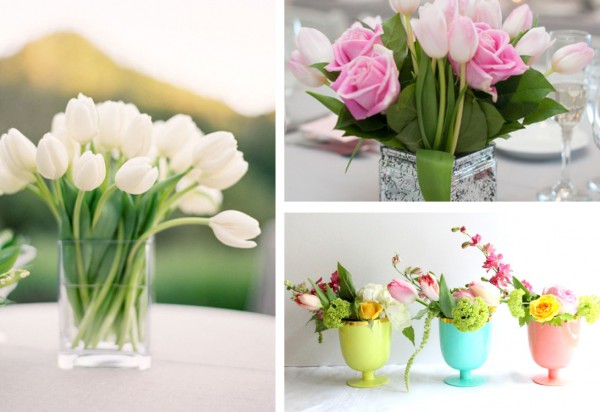
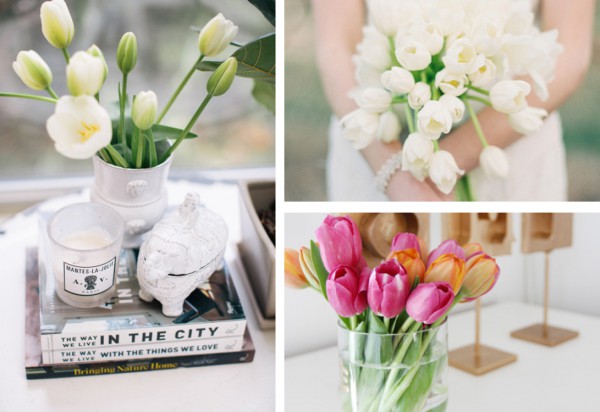
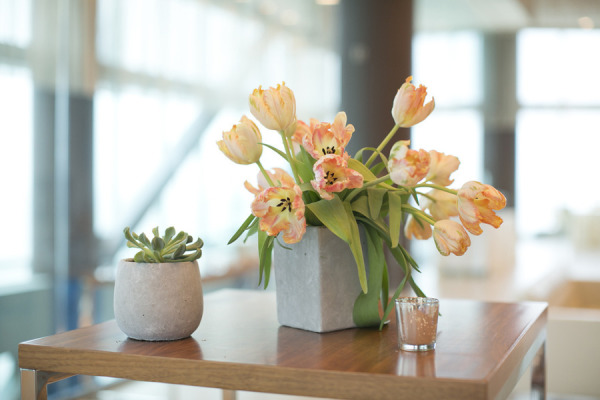
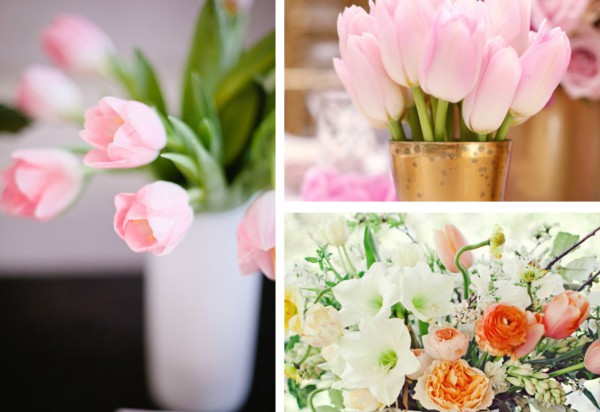
I absolutely adore tulips (second favorite, to peonies, and runner-up to garden roses). I dug into my wedding pinboards and found some of my favorite tulip bouquets and arrangements. They also make for the perfect desk decoration – I’ll be sharing my favorite office spaces next week! I can’t wait.
Lastly, the winner of the BABYBJÖRN Carrier We giveaway is Vanessa W. Congratulations! Make sure you enter the BabyLit giveaway by midnight tonight and use code ‘Isla’ to receive 40% off at BabyLit.com. Have a wonderful weekend!
Tulip Floral Inspiration
Magenta Florals
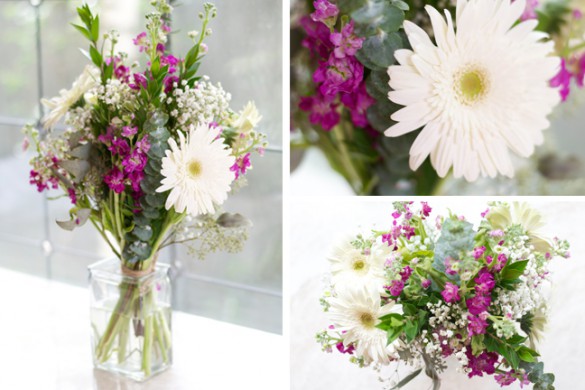
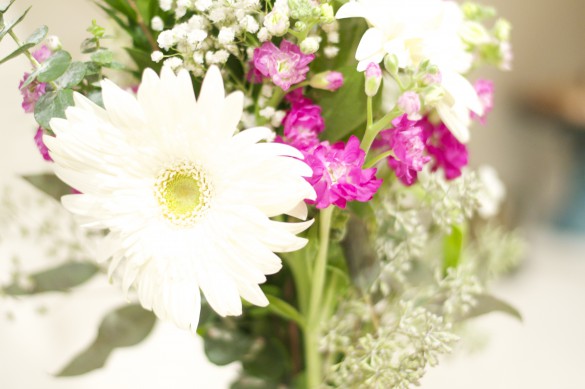
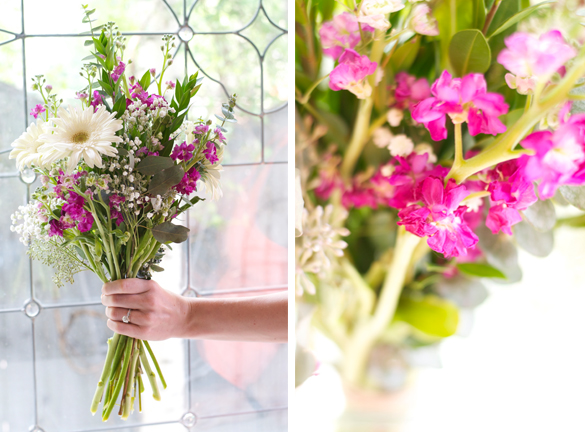
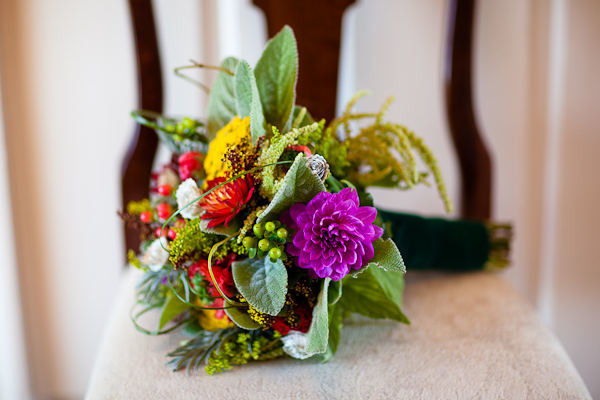
I just completed the first week of my Floral Arranging 101 class, and I am addicted. Our homework assignment was to create a hand tied bouquet, using primary, secondary, and filler flowers, with additional greenery to give it texture. We had suggestions for which flowers to use, but the local Durango grocery store’s floral department is not the best, so I went out on a limb with my selections. My mom told me about April’s Garden after I had already made my bouquet, so I’ll head there next week.
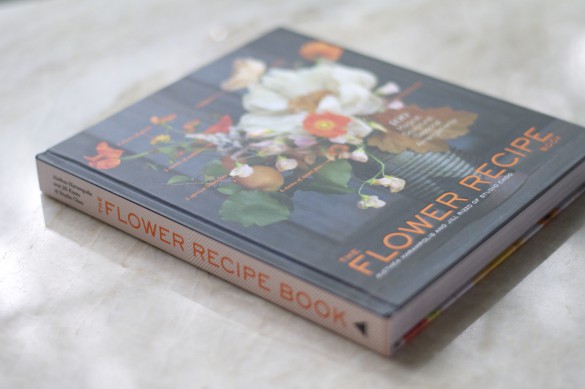
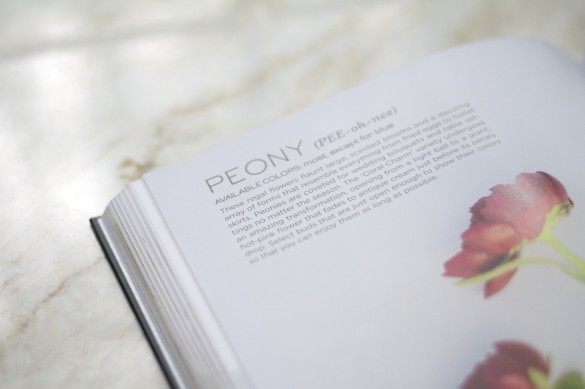
I’m very amateur in the world of flowers, so I bought The Flower Recipe Book to help me. I’m so excited about this purchase – not only does it help with the arranging, it’s also the prettiest coffee table book. I highly recommend you buy it if you’re interested in flowers.
Lastly, the Milk Nursingwear giveaway ends tonight at midnight. Make sure to enter today!
My absolute favorites – as mentioned here
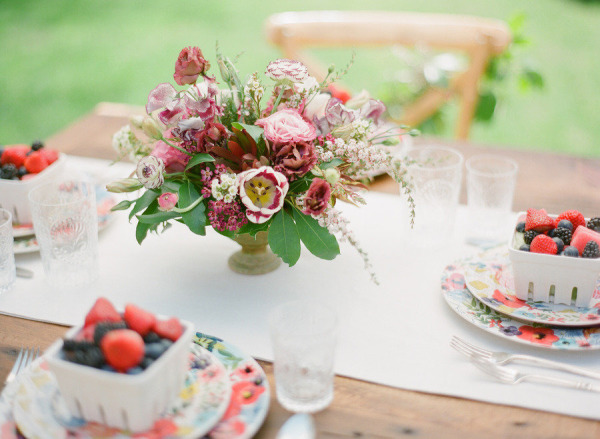
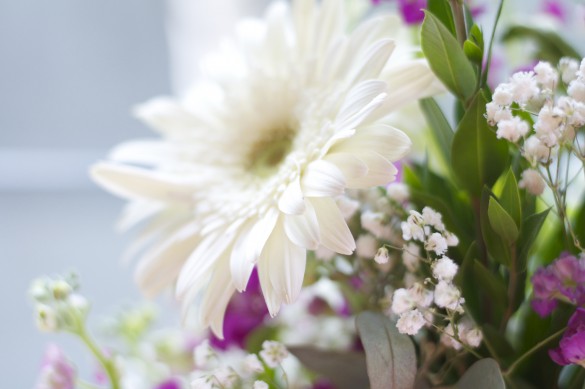
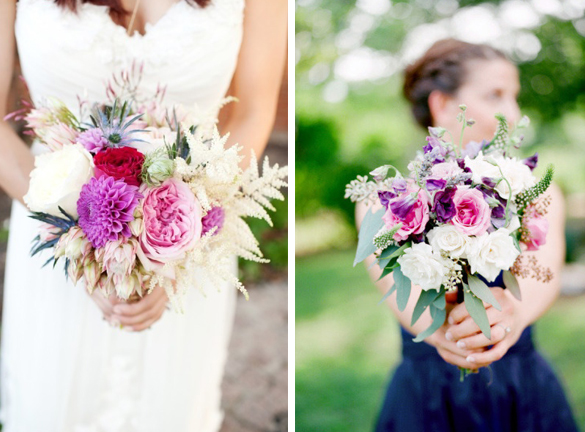
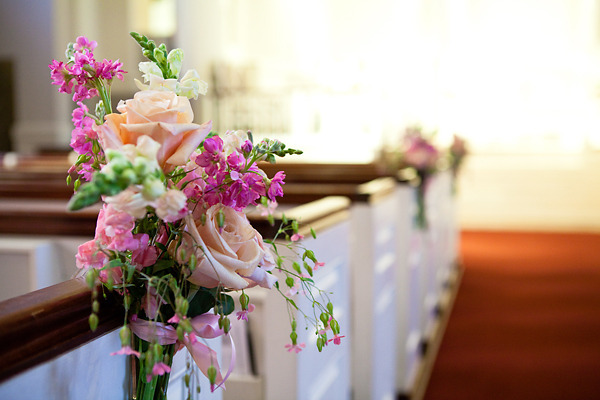
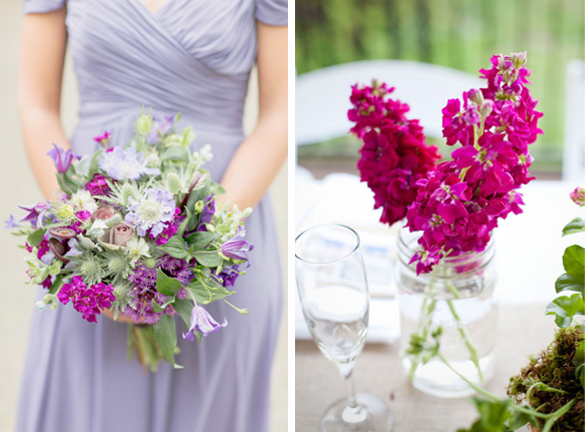
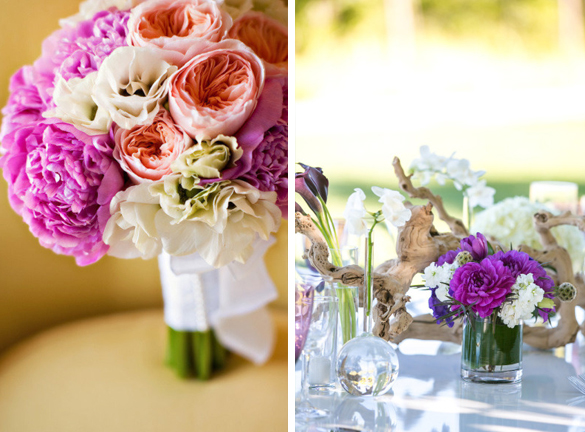
I love a pop of magenta in a bouquet and have shared some of my favorite wedding arrangements below (all sourced from Style Me Pretty). What is your favorite pop of color in a floral bouquet?